")
")

We occasionally receive questions from users of our Personnel and Leave Software regarding its use. The program allows users to make some customizations without requiring any coding. In this article, we will explain both these customizations and the general use of the program.
Installing the software
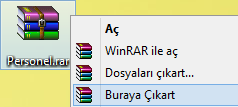
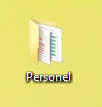
The program initially arrives as a compressed file in .zip format. Right-click on this file and select "Extract" to extract it to your desktop or any other location. Once opened, a folder named "Personel" will be created. The "Personel" folder contains two subfolders named "izinler" and "PersonelResimleri" and three files named "database.mdb" "İzin takvimi.xlsm" and "Personel.xls" as shown below. (The file extensions mdb, xlsm, and xls may not be visible.)

The "Personel.xls" file within the folder should be run, and Excel should be opened with macros enabled when opening. (If a warning appears above the formula bar when opening the Excel file, as shown below, asking you to enable content and macros, select "Enable Content." For detailed information on enabling macros, see: Enabling Macros in Excel)

When the Excel file is opened as specified, we can open the program's interface by clicking the "Form Aç" button on the page that appears.
Screen Descriptions
The program stores personnel information and leave information for employees. Let's examine how to use the screen using the screenshot below:
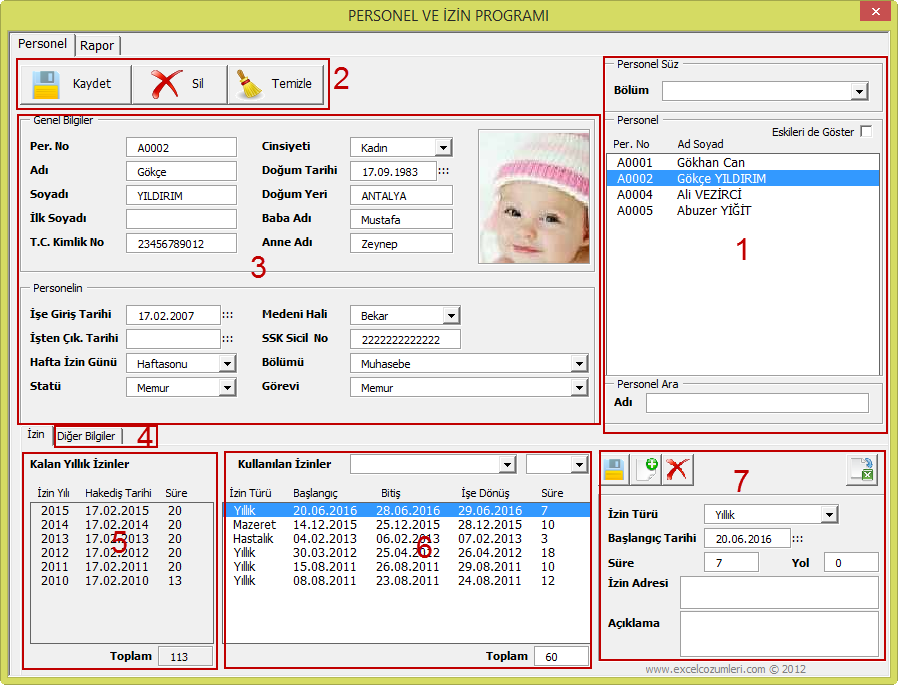
Section 1
Personnel names are listed with their personnel numbers. Double-clicking on an personnel record will open its information. You can select a department from the drop-down box at the top to list only the personnel in that department. Alternatively, you can search letter by letter by first name and last name in the search field below. As each letter is entered in the search field, individuals whose first or last name contains the searched word will be listed.
When you tick "Show former personnel as well," those who have left the job will also be listed. By default, former personnel are not displayed. The program marks those with a "Termination Date" as former employees.
Section 2
It is used to register new personnel, save personal information of personnel and delete existing personnel records.
Section 3 and 4
This section contains the personnel's personal information. When the information here is changed, the changes must be saved to the database using the "Save" button in section 2.
For the program to work correctly, the personnel's "Name", "Surname", "Date of Birth", "Employment Date", "Weekly Break Day", "Status" and "Department" information must be entered.
New values can be added to combo boxes such as "Department" and "Task." For more information, see the "Customizing ComboBoxes" section below.
To add a photo to a personnel, copy the photo with the personnel number and jpg extension into the "PersonelResimleri" folder.
Section 5
This displays the personnel's earned and remaining annual leave. Annual leave earned by personnel is listed by year based on their "Employment Date", "Status" and "Date of Birth." Any annual leave used is deducted from their earned leave. Remaining leave is listed by year.
Leave entitlements will be calculated based on the amounts earned by the "Status." New statuses and new amounts may be defined. Please contact us for this.
Section 6 and 7
Section 6 displays a list of used leaves. All leave records entered for leave used or to be used are listed here. Filtering by "Leave Type" and "Year" is possible using the drop-down boxes at the top.
Double-clicking on the used leave records listed in section 6 opens the record details in section 7. The buttons at the top of section 7 allow you to create a new leave record, update or delete an existing record, and create a leave document. The created leave document will be saved in the "izinler" subfolder.
When entering a leave record in section 7, enter the leave start date and duration, and click the "Save" button. The program automatically calculates the "leave end" and "return to work" dates. When calculating the return to work date, the employee's "Weekly Break Day", "Weekends" and "Public Holidays and Festivals" are taken into account. Public Holidays and Festivals must be defined by the user once per year. For this purpose, see the "Defining Public Holidays and Festivals" section below.
New leave types can be added to the "Leave Type" drop-down box in section 7. To do this, see the "Customizing Drop-Down Boxes" section below.
Reports
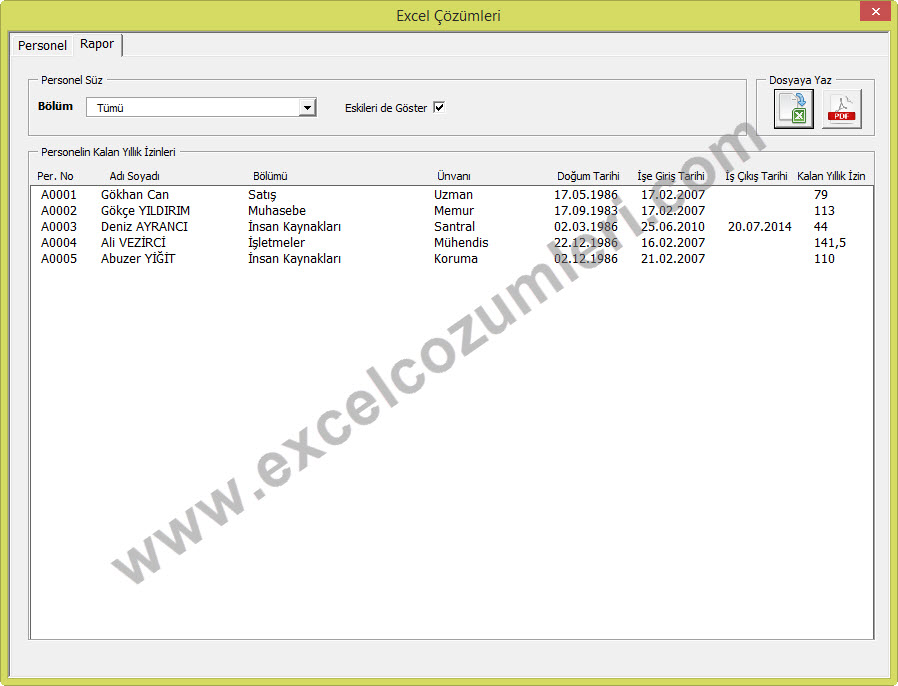
The program interface displays each personnel's earned and total remaining leave by year. You can also query used leave by leave type and by year.
In the "Report" tab at the top of the program interface, you can generate reports on remaining leave for both departments and all personnels, and save them as a PDF. The generated report file will be saved in the "izinler" folder.
By opening the "İzin Takvimi.xlsm" file in the "Personel" main folder and selecting Year and Month, leave plans can be viewed on the monthly calendar and leave conflicts can be tracked.

Click images to enlarge.
Customizing Comboboxes
The data contained in the comboboxes used in the program can be edited by the user and new data can be added. To do this, as shown in the screenshot below, in the "Settings" tab at the top of the program interface, in the first section, select "Department or Task" from the "ComboBox Type" field and the data for the selected type is listed. Double-clicking on the listed records brings up the record details in the "Value" field, allowing for changes. The buttons at the top of the section allow for new records, updating existing records and deleting them.
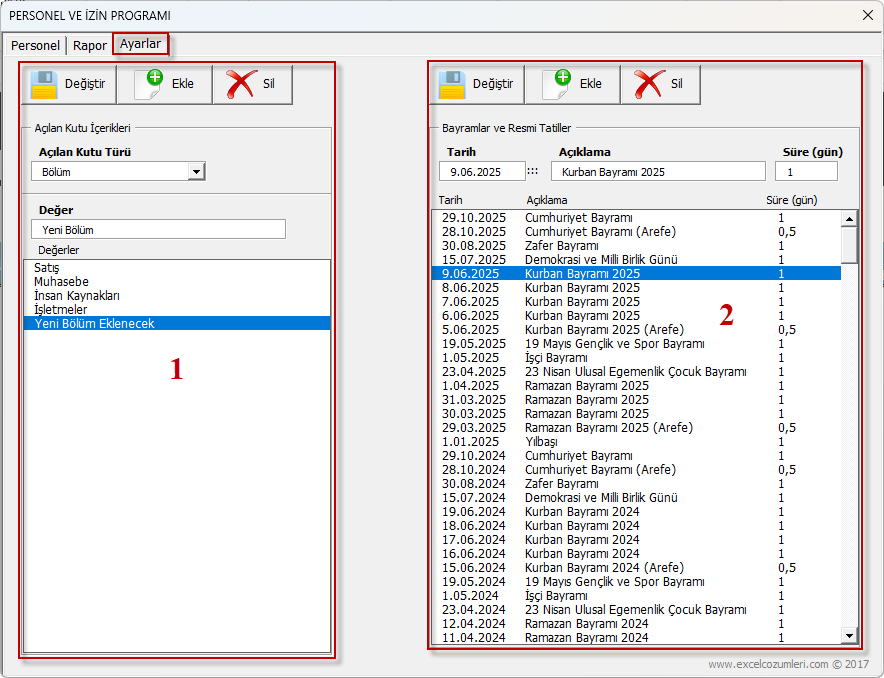
Definition of Public Holidays and Festivals
When entering a new leave record, the leave end and return to work dates are automatically calculated based on the leave start date and duration. For this calculation to be accurate, the annual public holidays and festivals must be entered into the system once. To do this, as shown in the screenshot above, the program interface lists previously entered public holiday and festival records in the second section of the "Settings" tab at the top. Double-clicking on the listed records displays the "Date", "Description" and "Duration" information in the relevant boxes, allowing for changes. The buttons at the top of the section allow you to add new records, update existing records and delete them.